Follow Me On Social Media!

Cassava Flour Pie Crust: The Best Grain-Free Delight
Introduction to Cassava Flour Pie Crust
When it comes to creating a delicious and flaky pie crust, a cassava flour pie crust offers a delightful and gluten-free alternative that doesn’t compromise on flavor or texture. Picture this: a warm slice of pie, the crust golden and crisp, and you can enjoy every bite without any grains. This is exactly what you can achieve with cassava flour, a versatile ingredient derived from the root of the cassava plant. Not only does it provide a subtle nuttiness, but it also holds moisture exceptionally well, resulting in the perfect crust for both savory and sweet fillings.
Making a cassava flour pie crust is a journey that blends ease with creativity. This grain-free option is perfect for anyone who needs or wants to avoid gluten, whether due to dietary restrictions or personal preference. If you’ve ever felt disappointed by crumbly gluten-free crusts that fall apart at the first touch, fear not! Cassava flour has a unique ability to mimic traditional flour, allowing for a pliable dough that you can easily roll out.
Why a Grain-Free Pie Crust is the Perfect Solution?
Switching to a grain-free pie crust opens up a world of possibilities. Here are a few compelling reasons:
-
Digestive Comfort: Many people experience bloating or discomfort after consuming grains. Cassava flour, being gluten-free, makes for a more gut-friendly option.
-
Increased Energy: Reducing grains may lead to more stable energy levels. Without the spike in blood sugar often associated with grain consumption, you might find it easier to maintain your energy throughout the day.
-
Rich in Nutrients: Cassava is rich in carbohydrates and contains a good amount of important vitamins and minerals, such as vitamin C and potassium, making this flour a nutritious choice.
-
Versatility in Use: Whether you’re crafting a rich chocolate tart or a savory quiche, this cassava flour pie crust can adapt to a variety of flavors and fillings with ease.
So step outside the realm of traditional pie crusts and embrace the delectable world of cassava flour. Your tastebuds (and tummy) will thank you!
Key Ingredients for Cassava Flour Pie Crust
Creating a cassava flour pie crust takes just a handful of thoughtful ingredients that come together beautifully. Each component plays a vital role in achieving that perfect flaky texture and rich flavor.
-
Cassava Flour: As the star of this crust, cassava flour is gluten-free and derived from the cassava root. It brings a slightly nutty flavor and a nice, tender texture to the crust, making it a brilliant alternative for those avoiding grains.
-
Butter: I prefer using unsalted butter for its rich flavor and to maintain control over the saltiness of my crust. Cold butter, cut into small pieces, is key to creating those delicious flaky layers.
-
Egg: The egg acts as a binding agent, helping to hold everything together while also adding moisture. It contributes to that tender, melt-in-your-mouth texture that makes this crust so special.
-
Salt: Just a pinch of salt enhances the overall flavor of the crust. It balances the sweetness in your pie filling and contrasts beautifully against the nuttiness of the cassava flour.
-
Water: Cold water is used to bring the dough together. Adding it gradually helps achieve the right consistency without making the dough too wet or sticky.
These ingredients blend perfectly, allowing for a cassava flour pie crust that’s not only delicious but also wonderfully easy to make.
Why You’ll Love This Recipe
The cassava flour pie crust brings a delightful twist to traditional pie baking that you’re going to adore. Whether you have gluten sensitivities or just want to explore new flavors, this alternative crust is both versatile and delicious. Imagine a crisp, flaky crust that holds up beautifully to your favorite fillings, yet is made from wholesome ingredients!
Here’s why this recipe is a must-try:
-
Grain-Free Goodness: Made primarily from cassava flour, this pie crust is naturally gluten-free, making it perfect for those on specific diets. You won’t miss the wheat at all!
-
Simplicity: You can whip up this crust in minutes without any specialized equipment. Just mix the ingredients, roll it out, and it’s ready for your pie dish.
-
Flavorful Base: The subtle, nutty taste of cassava flour presents a wonderfully unique flavor that enhances both sweet and savory fillings. You can use it for everything from fruit pies to quiches.
-
Perfect Texture: After baking, you’ll find that this crust achieves a crispy, tender texture that holds its shape beautifully, making every slice easy to serve.
In short, this cassava flour pie crust is your new kitchen hero, elevating pies while ensuring everyone can enjoy them!
Variations of Cassava Flour Pie Crust
Choosing a cassava flour pie crust for your baking doesn’t just cater to dietary preferences; it opens up a world of creative possibilities! Whether you’re in the mood for something sweet or savory, there’s a variation waiting just for you.
Sweet vs. Savory Options
When it comes to your cassava flour pie crust, sweet fillings like pumpkin or cherry are fabulous companions. Simply add a hint of sugar and a pinch of cinnamon to your crust for a delightful contrast. On the flip side, for savory quiches or pot pies, swap out the sugar for a touch of salt and herbs. This adaptation creates a flavorful base that complements savory fillings wonderfully. Imagine a buttery, herb-infused crust cradling a rich, creamy filling!
Flavored Variations
Why not infuse some personality into your crust? A splash of vanilla extract can elevate sweet pies, while lemon zest or sage can add depth to savory options. You can even experiment with spices like nutmeg or cayenne for a unique twist. Think about your favorite flavors and feel free to play around – the sky’s the limit!
Alternative Oils for Health-Conscious Bakers
For those who prioritize health, using oils like coconut or avocado can transform your cassava flour pie crust into a nourishing delight. These oils not only provide healthy fats but also impart a subtle flavor that can enhance your crust. If you’re looking for that extra crunch, consider using ghee or clarified butter, which also has a higher smoke point for baking.
With all these variations, your cassava flour pie crust can swiftly become the star of your next culinary adventure!
Cooking Tips and Notes for Cassava Flour Pie Crust
Creating a cassava flour pie crust is a delightful adventure that brings a unique twist to your baking. It’s essential to understand a few nuances when working with gluten-free dough to ensure your crust turns out perfectly flaky and flavorful.
Best practices for handling gluten-free dough
When dealing with gluten-free dough, it’s crucial to keep it as chilled as possible. This helps maintain its structure, preventing it from becoming sticky. Always use a clean surface and a light dusting of extra cassava flour for easy handling. Remember to keep your hands cool by rinsing them in cold water; warm hands can make the dough stickier.
Tips on rolling out the dough
Rolling out cassava flour pie crust can be a bit tricky, as it’s less forgiving than traditional doughs. To avoid breakage:
- Use a silicone mat or parchment paper to prevent sticking.
- Roll the dough gently and don’t apply too much pressure.
- If it cracks, don’t worry—just pinch the edges back together. It’s about achieving that rustic charm!
Refrigeration benefits
Refrigerating your cassava flour pie crust for at least 30 minutes before rolling can significantly improve its texture. The chilled dough is easier to work with, and this brief rest allows the moisture to be absorbed more evenly, resulting in a better structure once baked. Plus, it provides a lovely, flaky finish that’s hard to resist!
With these tips, you’re well on your way to creating a delicious cassava flour pie crust that your friends and family will adore. Happy baking!
Serving Suggestions for Your Pie Crust
Elevating your cassava flour pie crust to new culinary heights can turn any meal into a delightful feast. This versatile crust invites you to explore a range of fillings, whether you crave something sweet or savory.
Pairing with sweet fillings
For a delightful dessert, consider a classic fruit filling. Fresh berries, peaches, or even a rich chocolate ganache pair beautifully with the earthy flavors of cassava. For an added touch, whip up a vanilla bean cream to dollop on top—your guests will be raving!
Delicious savory fillings
If savory is more your style, think about a hearty quiche or a savory pot pie. A mix of sautéed vegetables, goat cheese, and herbs makes for a mouthwatering dish that’s perfect for brunch or dinner. The sturdy structure of your cassava flour pie crust will hold up beautifully against liquid fillings, ensuring each slice is a masterpiece.
Presentation ideas for special occasions
Don’t forget about aesthetics! For special gatherings, dust your pie crust with a sprinkle of fresh herbs or edible flowers. A lattice top can also add an appealing, artisanal touch that’s sure to impress. Whether it’s a festive gathering or an intimate dinner, these small details will elevate your dish from simple to stunning.
Time Breakdown for Cassava Flour Pie Crust
Making a cassava flour pie crust at home not only elevates your baking game but also allows for a delightful gluten-free alternative that everyone will love. Let’s break down the time you’ll need for each step, so you can plan accordingly and have everything run smoothly.
Preparation Time
Expect to spend about 15-20 minutes mixing your ingredients and forming the dough for the cassava flour pie crust. This is when you’ll be connecting with your ingredients, rolling up your sleeves, and creating a base that’s both delicious and easy to work with.
Chilling Time
Once your dough is ready, it’s essential to chill it for at least 30 minutes. This step helps to relax the dough, making it easier to roll out and shape. During this time, you can prep your fillings or sip on a cup of tea while you wait!
Baking Time
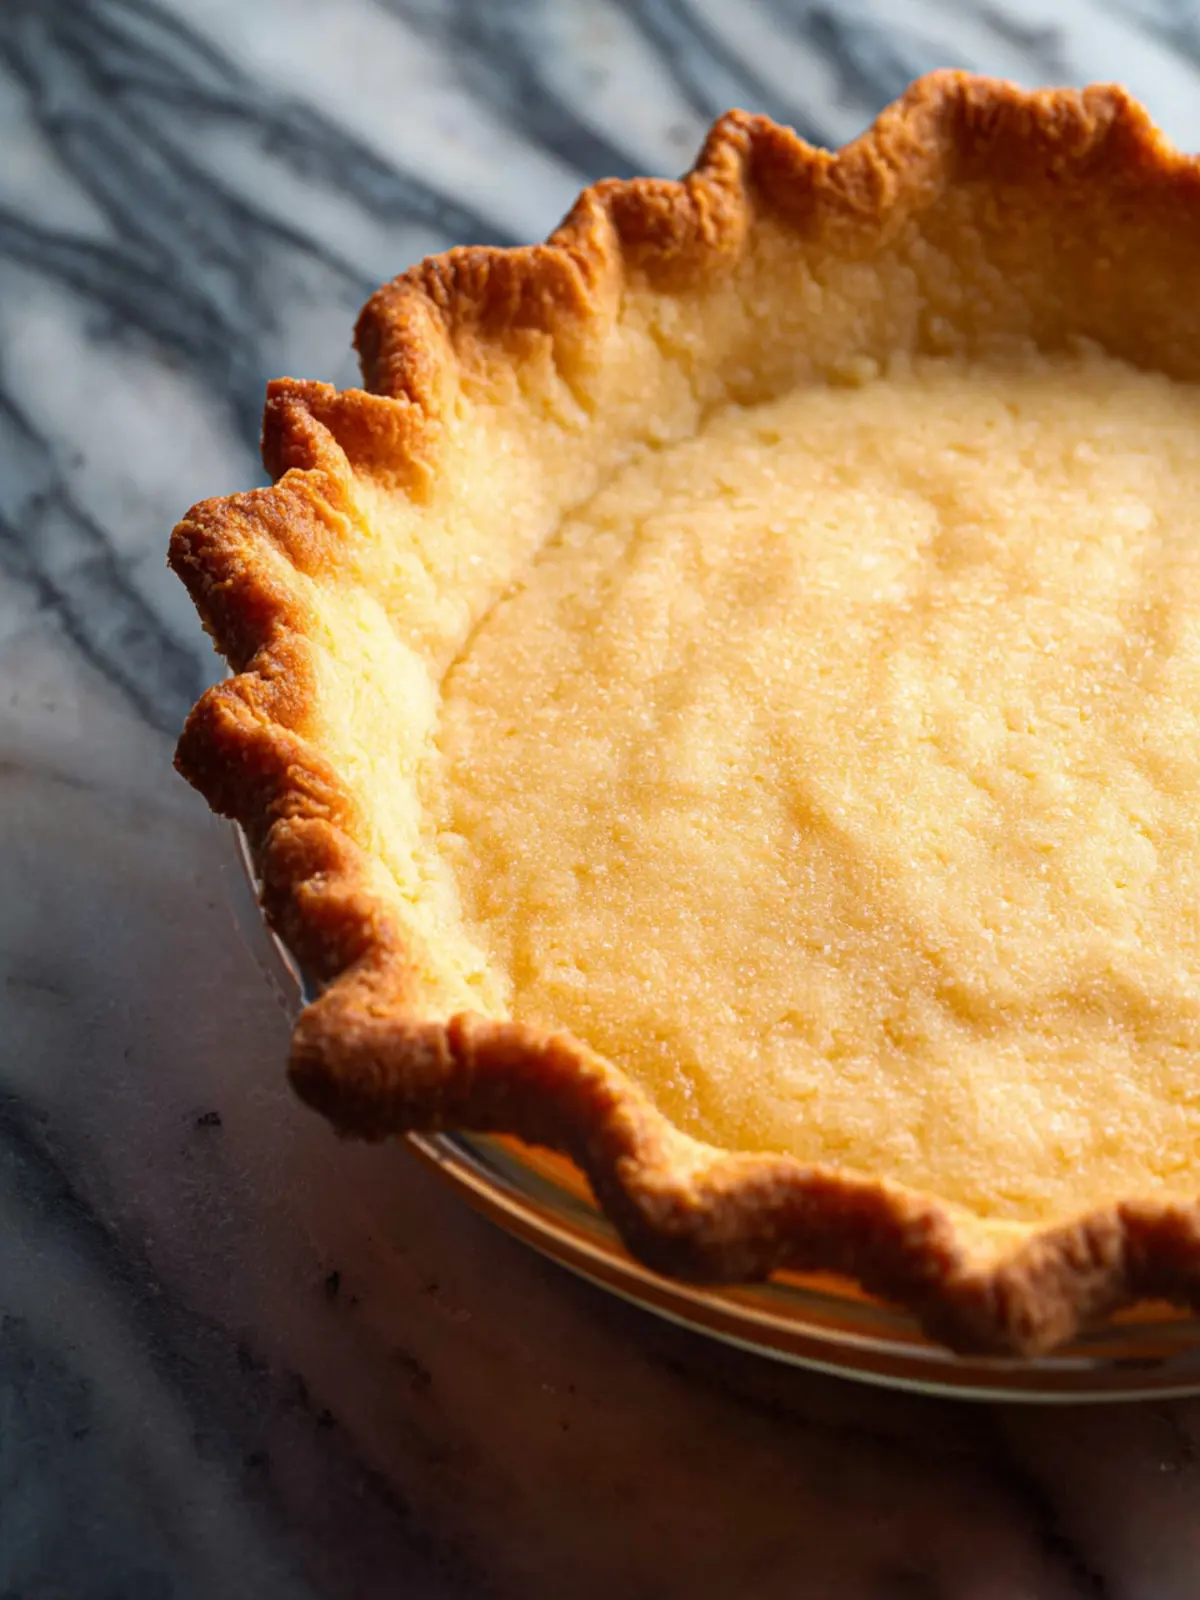
Finally, the baking time is approximately 25-30 minutes. You’ll know your cassava flour pie crust is ready when it’s golden brown and has a lovely aroma wafting through your kitchen. This is the moment you’ll eagerly anticipate as you prepare to enjoy your homemade masterpiece!
Nutritional Facts for Cassava Flour Pie Crust
Crafting a cassava flour pie crust invites not just flavor, but also nutritional benefits to your table. Here’s a quick breakdown of what you’re indulging in:
Calories
A typical serving of this cassava flour pie crust contains around 150 calories. This makes it a satisfying choice for those mindful of their caloric intake but still aiming to enjoy a delightful pie.
Protein
If you’re looking to boost your protein intake, this crust offers approximately 2 grams of protein per serving. While not a protein powerhouse, it complements various fillings well, adding a wholesome element to your dessert.
Dietary Fiber
One of the standout features of a cassava flour pie crust is its dietary fiber content, providing around 4 grams per serving. This fiber not only aids digestion but also helps keep you feeling full longer, making your pie indulgent yet balanced.
FAQs about Cassava Flour Pie Crust
Navigating the world of cassava flour pie crust can feel a bit like exploring a new territory in baking. With its unique properties, making the switch from traditional flours raises many important questions. Here, we’ll address some common queries to make your baking experience seamless.
How does cassava flour compare to regular flour?
When it comes to cassava flour, it’s made from the whole root of the cassava plant, making it naturally gluten-free and grain-free. Unlike regular wheat flour, it offers a more earthy flavor and a distinct texture that can elevate your pie crust. In terms of usage, cassava flour is often considered 1:1 in exchange for wheat flour in many recipes, but be mindful that its absorption rates can vary, so adjustments in liquid might be necessary. Many find that a cassava flour pie crust creates a light, flaky texture that holds up beautifully when filled with sweet or savory fillings.
Can I make this crust in advance?
Absolutely! Preparing your cassava flour pie crust ahead of time can save you a lot of stress on baking day. Once you’ve mixed and rolled out the crust, you can either freeze it or refrigerate it. If freezing, wrap it tightly in plastic wrap and store it in a freezer bag for up to a month. Just be sure to thaw it in the refrigerator the night before you’re ready to bake.
How can I ensure my crust stays flaky?
To keep your cassava flour pie crust flaky, it’s essential to keep your ingredients cold. Use cold butter or coconut oil, and if possible, chill the flour mixture for a few minutes before you start. Additionally, avoid overworking the dough; mixing just until combined ensures a tender, flaky texture. Finally, allowing the dough to rest before rolling it out can help achieve that desired flakiness, so don’t skip this step!
Conclusion on Cassava Flour Pie Crust
Creating a delicious cassava flour pie crust transforms the pie-making experience, making it accessible for those following a grain-free diet. The unique flavor and texture of cassava flour come together beautifully, giving your crust that delightful crispness we all love. Whether you’re filling it with sweet or savory ingredients, you’ll notice how this substitute holds its own in texture and taste. By embracing this simple recipe, you unlock a world of flavor and health benefits without sacrificing any of the comfort you expect from traditional pies. So go ahead, indulge in your next pie adventure with confidence!
Print
Cassava Flour Pie Crust
- Total Time: 50 minutes
- Yield: 1 pie crust 1x
- Diet: gluten-free
Description
A gluten-free pie crust made with cassava flour, perfect for your favorite fillings.
Ingredients
Scale
- 1 3/4 cup cassava flour (210g)
- 1/2 cup arrowroot starch (65g)
- 1 1/2 teaspoon xanthan gum (optional – see notes)
- 1 teaspoon salt
- 2 eggs, whisked
- 1/3 cup vegetable shortening or lard, chilled and diced (75g)
- 1/3 cup cold butter, diced (75g)
- 3–5 tablespoons ice cold water
Instructions
- Whisk cassava flour, arrowroot flour, xanthan gum and salt together in a large mixing bowl.
- Make a small well in the middle of the flour. Pour the whisked eggs in the well then stir into the flour.
- Add the chilled and diced shortening and butter to the flour mixture. Mix into the flour mixture with a couple of forks or pastry cutter until it resembles a sandy mixture.
- Add the ice cold water, 1 tablespoon at a time. Mix in between each addition of water. Keep adding water and mixing until the dough comes together.
- Divide dough in half (each half weighing about 310g). Form each half into a disc shape. Wrap tightly in plastic wrap and refrigerate the dough for at least 20 minutes and up to 5 days.
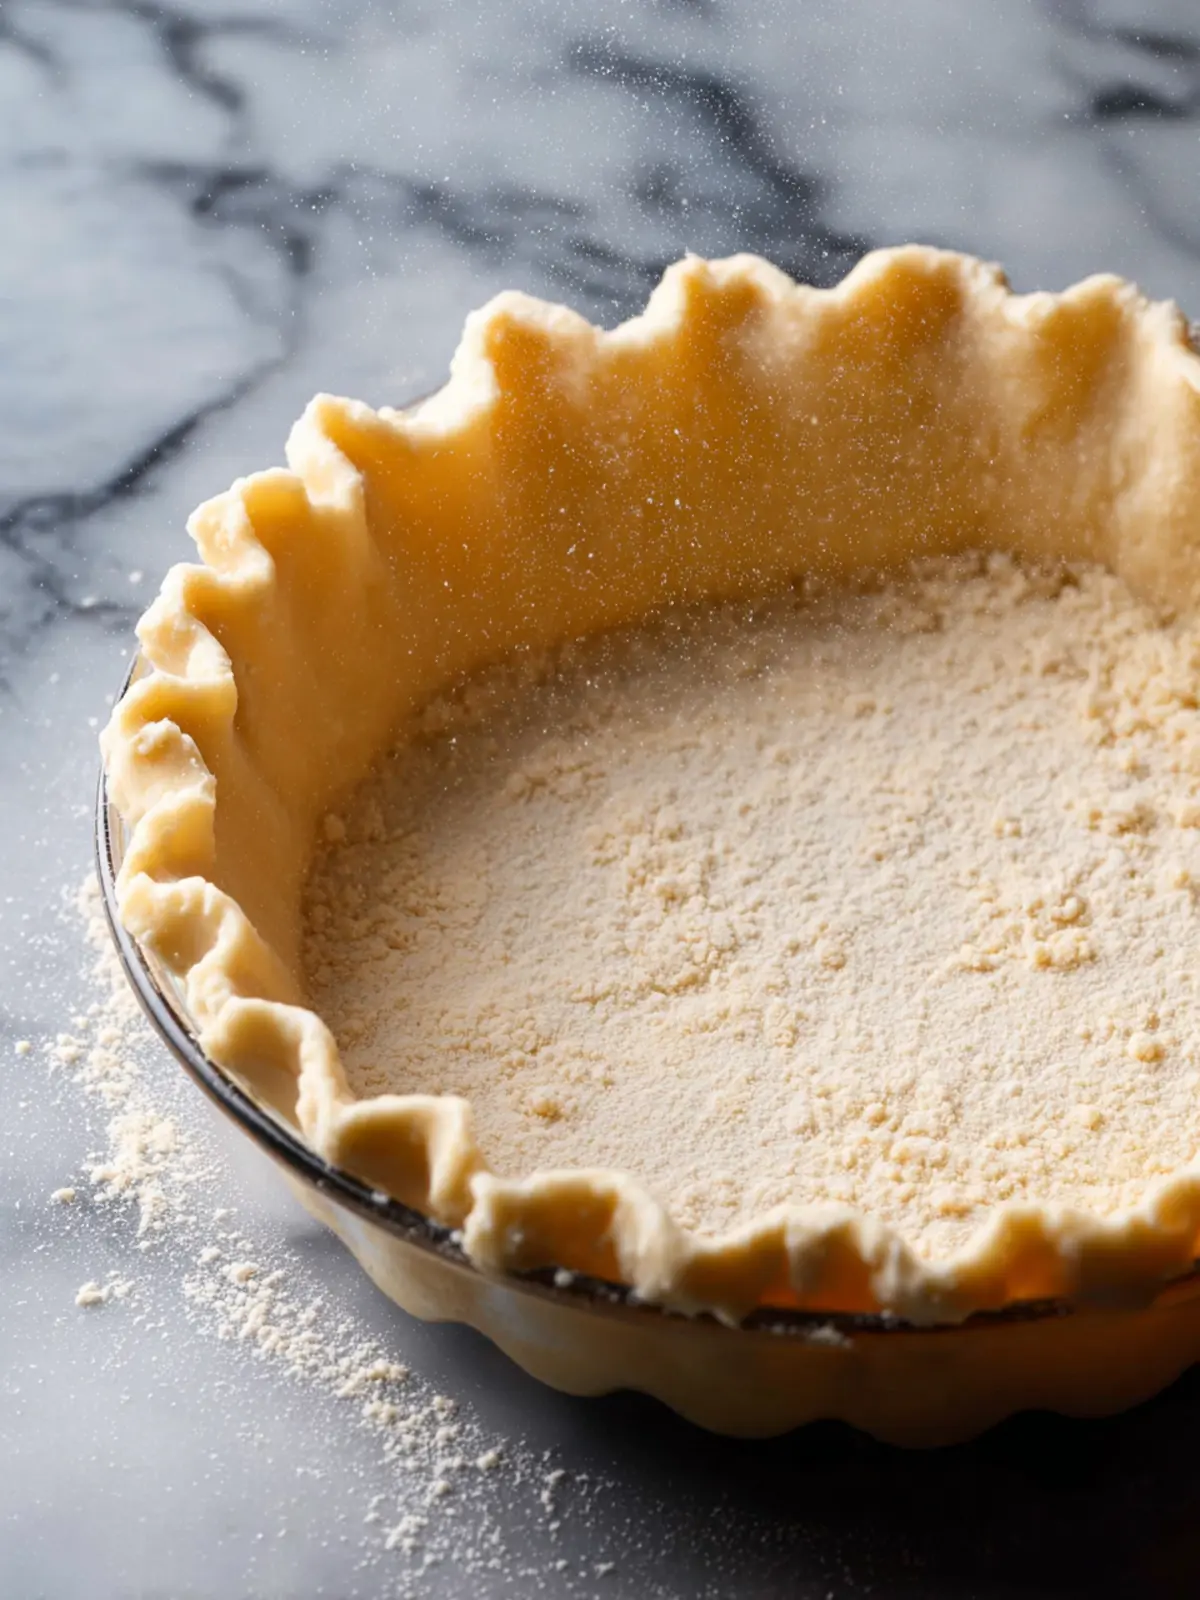
- Lay out a large piece of parchment paper or silicon baking mat. Lightly dust your hands, the work surface and rolling pin with flour.
- Place one half of the dough in the middle and begin rolling it out. Sprinkle over a little more flour as you go if it starts to stick to the rolling pin. Every so often flip the dough over to make sure it’s not sticking to the paper. Roll into a circular shape that is at least 12 inches in diameter to easily fit a 9-inch pie plate. It will be about 1/8 inch/ a little over 3 mm thick.
- Use the parchment paper to transfer your dough to the pie dish. Slip one hand under the paper to gently lift and flip the dough over into the pan.
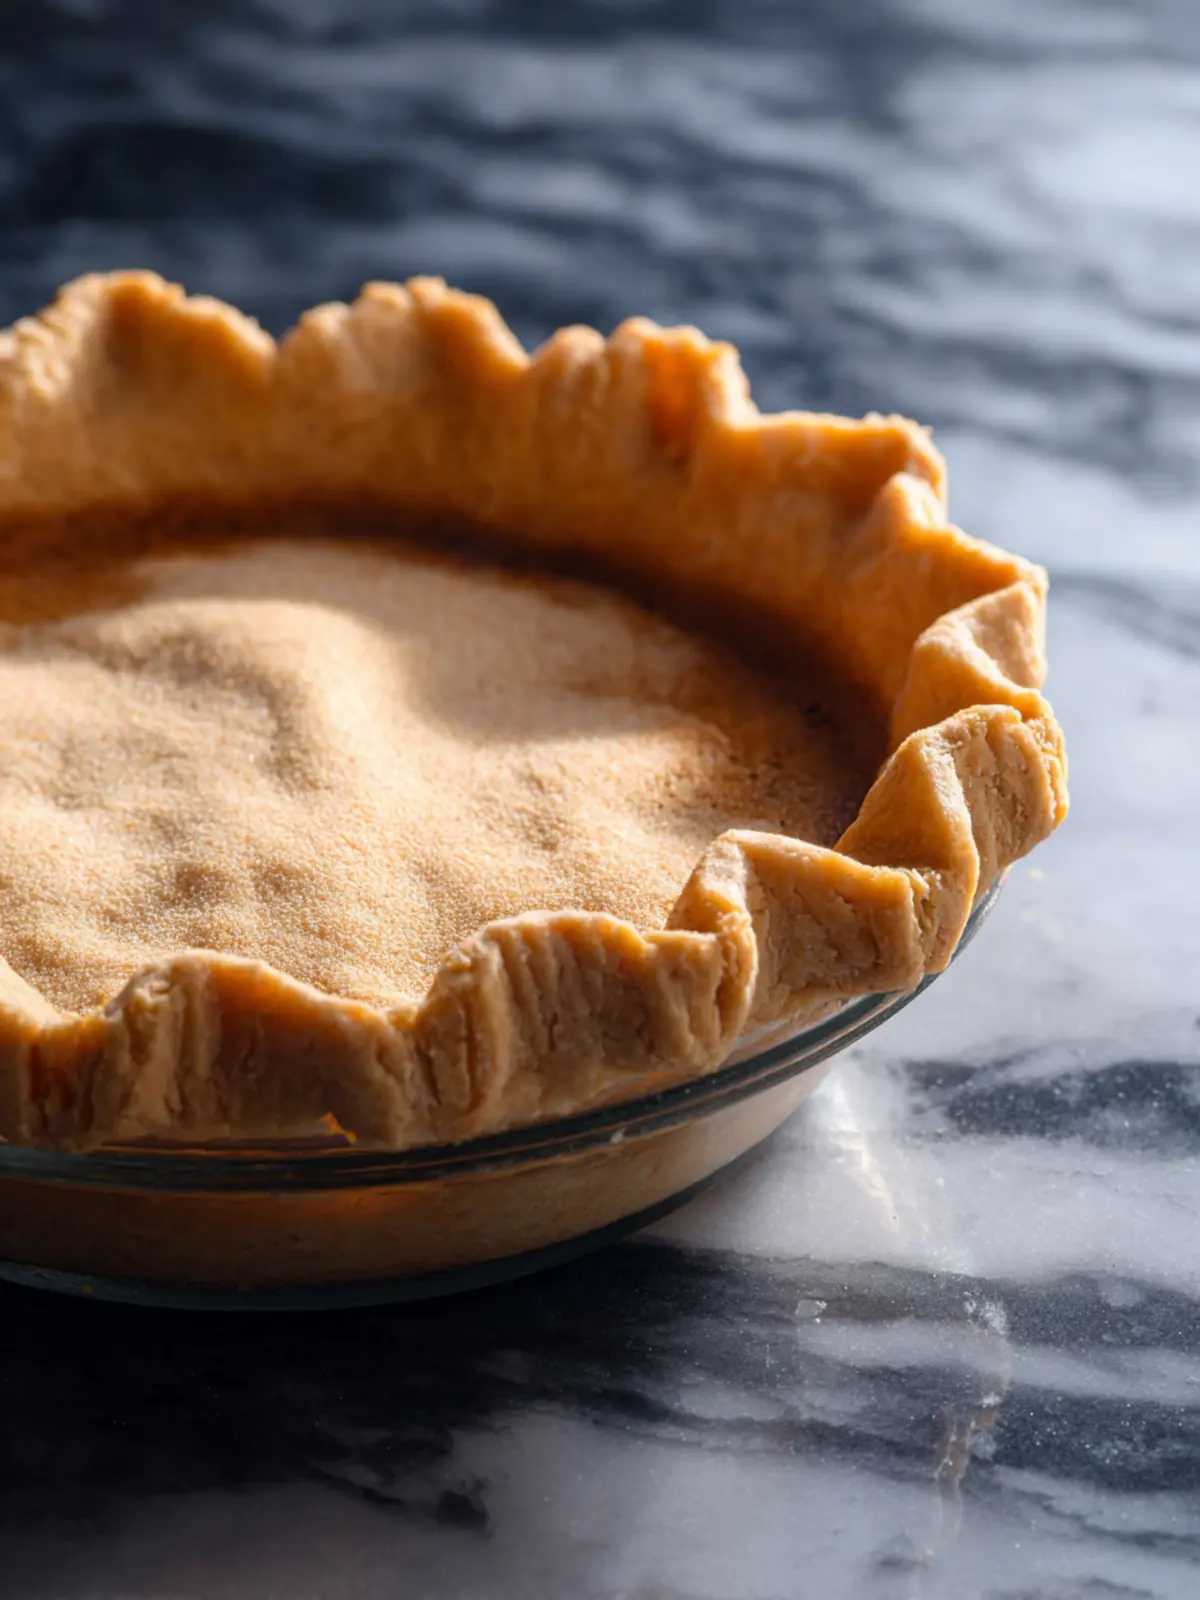
- Peel back the paper and smooth over any cracks or breaking points in the dough. Use the dough hanging over the edges of the pie dish to cover up the holes in the middle. Crimp the edges of the dough as you like.
- Proceed with the pie according to your recipe’s instructions.
Notes
- Xanthan gum helps improve the texture of gluten-free doughs.
- Store the pie crust in the refrigerator for optimal freshness.
- Prep Time: 30 minutes
- Category: Dessert
- Method: baking
- Cuisine: American