Follow Me On Social Media!

Easter Egg Bread: The Best Sweet Recipe for Family Joy
Introduction to Easter Egg Bread
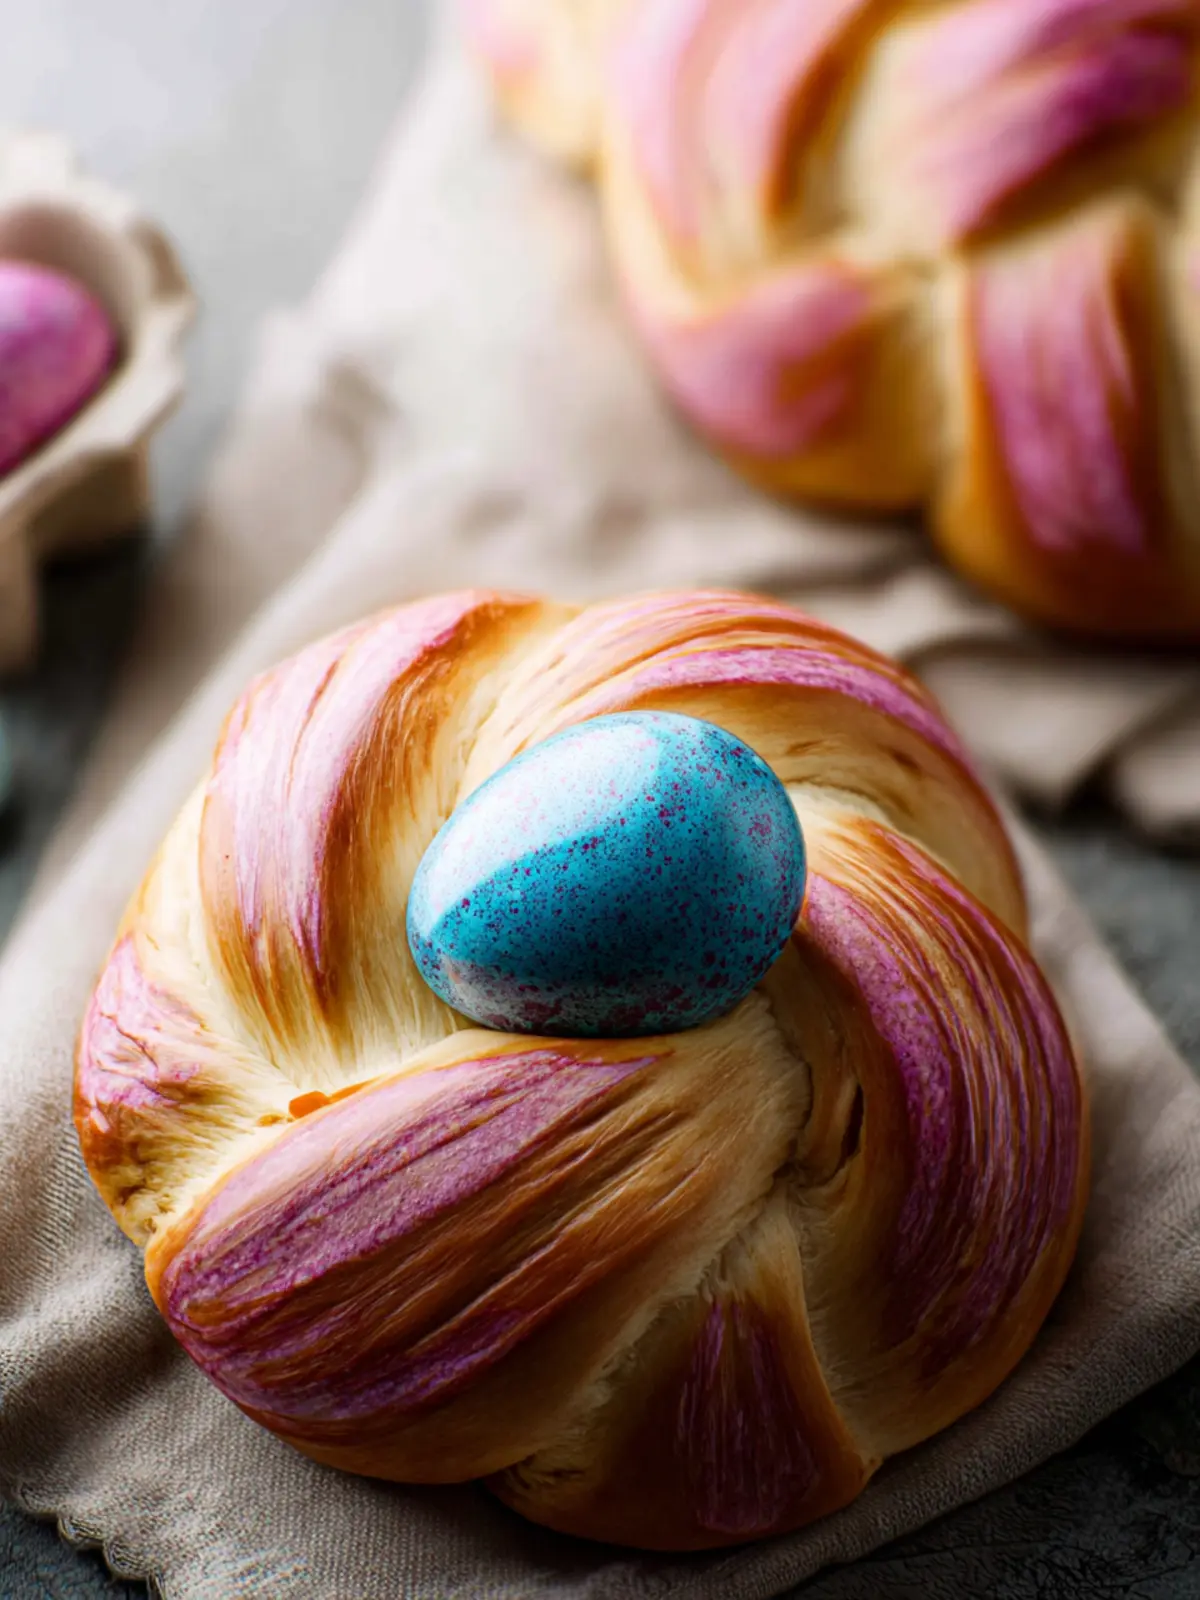
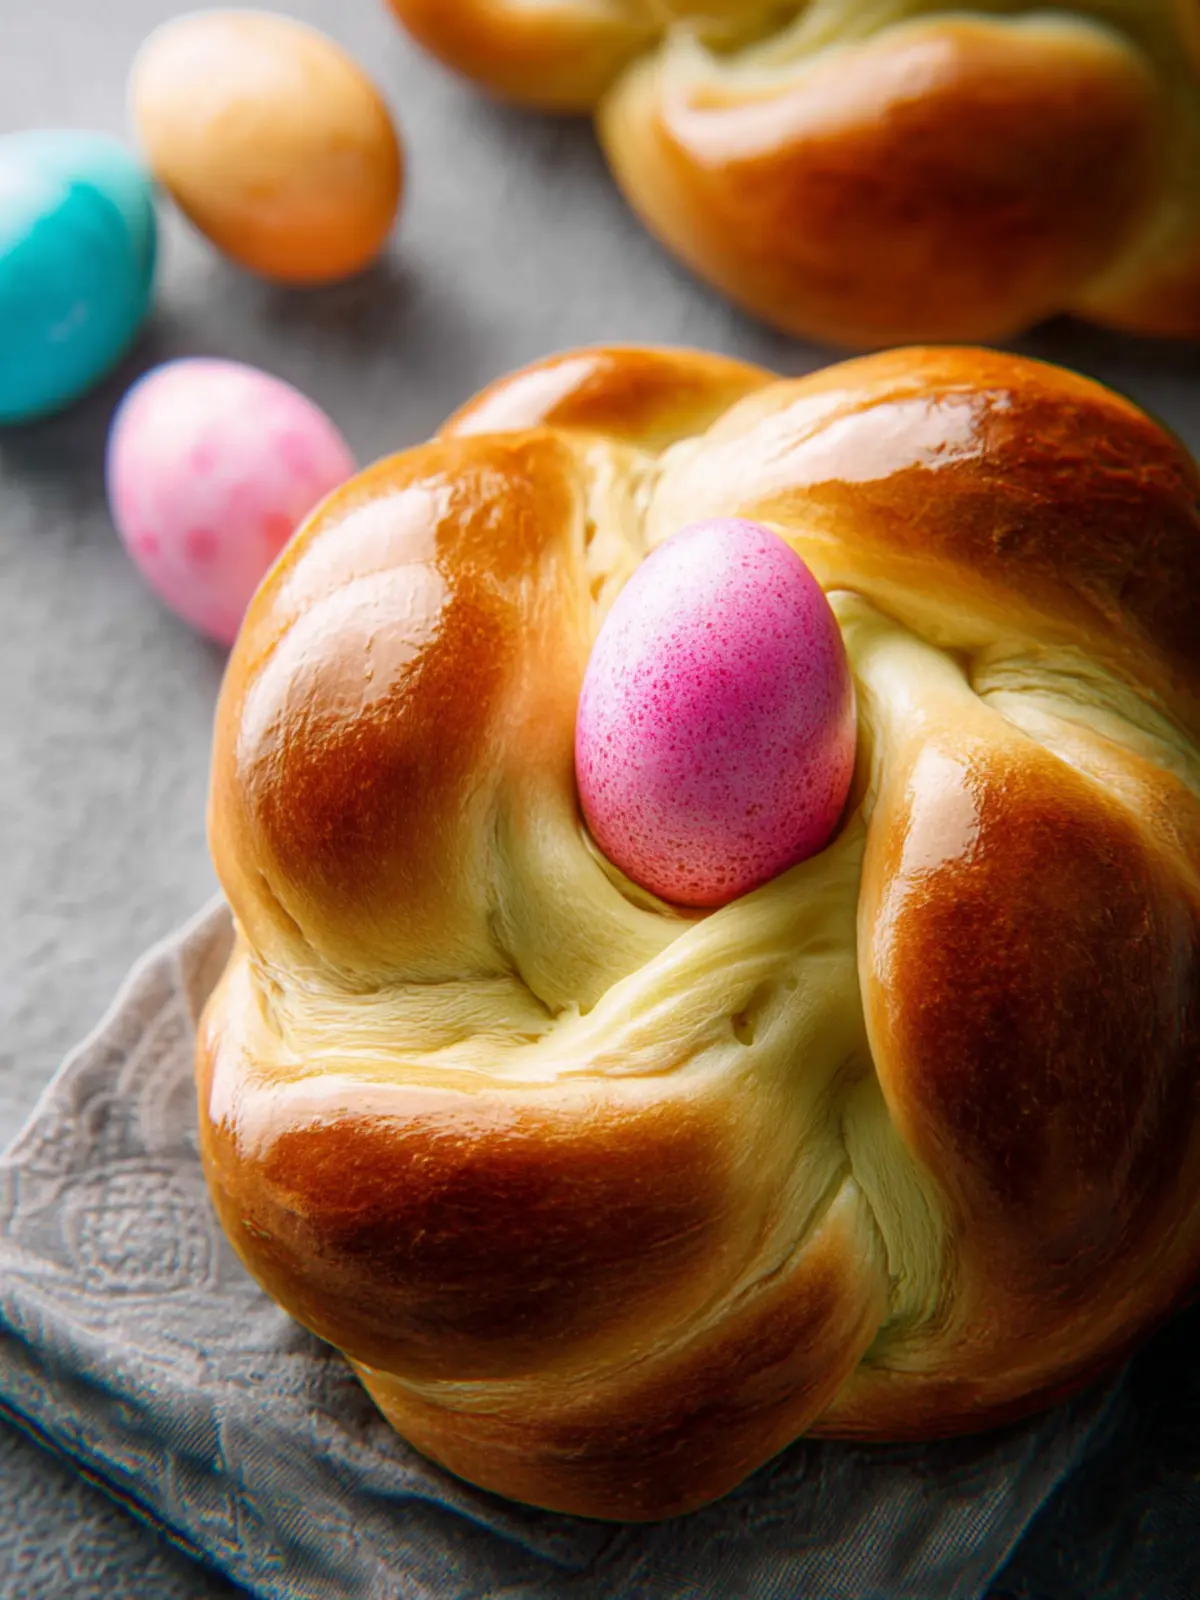
The delightful world of Easter Egg Bread beckons like a warm, inviting hug on a spring morning. This traditional loaf, adorned with vibrant eggs nestled within its braided design, serves more than just a culinary purpose during the Easter season. It symbolizes new life and rejuvenation—a beautiful duo that resonates with the essence of spring. Imagine gathering around the table with family and friends, sharing stories as the sweet aroma of this bread wafts through the air.
Easter Egg Bread, known in various cultures as Tsoureki or Paska, has unique recipes and techniques passed down through generations. Yet, no matter where you find it, the common thread remains: it’s a celebratory treat that embodies the spirit of renewal and hope. The act of braiding the dough is not just artistic; it’s a reminder of the intricate tapestry of life itself and the bonds that unite us.
Historically, this bread has roots in ancient traditions where eggs were dyed to mark the arrival of spring. Today, many families carry on the custom of placing decorated eggs in their Easter Egg Bread, blending the artistic and the edible in one harmonious dish. You can find the bread in various shapes: round, braided, or even in sweet wreaths. Each variation offers a delightful surprise when sliced, revealing colorful eggs tucked inside.
As you prepare to embark on your own baking adventure, consider how this bread connects you to such rich heritage. Whether you’re making it for a festive gathering or simply as a treat for yourself, each step invites moments of reflection and gratitude. Who knows? Maybe you’ll initiate a new family tradition centered around the delicious process of creating Easter Egg Bread.
Ready to dive in and create some memories—and, of course, enjoy scrumptious bites of beautifully braided bread? Let’s explore the ingredients that bring this incredible recipe to life!

Key Ingredients for Easter Egg Bread
Milk: Using warm whole milk is a game-changer in this Easter Egg Bread recipe. It helps activate the yeast, leading to a beautifully tender and rich dough that rises perfectly. Warm milk acts like a cozy hug for your ingredients, ensuring their flavors develop beautifully.
Yeast: The star player here is active dry yeast, which is crucial for the bread to rise. This ingredient not only causes the dough to expand but also contributes to the delightful flavor that makes every bite of your Easter Egg Bread memorable.
Eggs: Incorporating beaten eggs into the dough adds richness and structure. Their creamy goodness provides that delightful moistness and golden color, making the bread a feast for both the eyes and the taste buds.
Sugar: Granulated sugar sweetens the dough, enhancing its flavor and texture. It’s surprising how a small amount of sugar can elevate the overall taste, making your bread irresistibly delicious.
Flour: All-purpose flour is essential for providing the structure the dough needs. It works harmoniously with the other ingredients to create a perfect balance, allowing your Easter Egg Bread to hold its shape while remaining tender.
Butter: I always choose unsalted butter for this recipe, which adds moisture and a rich taste, keeping each slice luscious and enjoyable. The butter’s creaminess really shines through and enhances the overall flavor profile.
Why You’ll Love this Easter Egg Bread
Easter Egg Bread is more than just a dish; it’s a heartfelt symbol of renewal and celebration. This delightful bread is a staple in many households, linking generations through the shared joy of baking and feasting.
Flavor and Texture
The Easter Egg Bread has a unique blend of flavors that will captivate your taste buds. Imagine sinking your teeth into a soft, sweet bread enriched with warm spices like cinnamon and nutmeg. The decorative eggs not only add a pop of color but also signify rebirth, making it both a visual treat and a delectable delight. The tender crust gives way to a fluffy interior, creating a perfect pairing for your morning coffee or afternoon tea.
Family Tradition
What makes this recipe truly special is its ability to weave family traditions together. Whether it’s a cherished recipe passed down from Grandma or a new one you create with your kids, baking Easter Egg Bread becomes an occasion. It brings families together during gatherings and celebrations, making memories that last a lifetime.
Versatility
One of the many reasons you’ll adore Easter Egg Bread is its versatility. Enjoy it straight out of the oven, warm and fragrant, or incorporate it into a festive brunch spread. It pairs wonderfully with fruit, cheeses, and even savory dishes. No matter how you choose to serve it, this bread will undoubtedly elevate your Easter festivities!
Tips for Making Perfect Easter Egg Bread
Crafting Easter Egg Bread is a delightful way to celebrate the season and share special moments with loved ones. A few valuable tips can enhance your baking experience and ensure that you create a loaf bursting with flavor and visual appeal.
Kneading Techniques
Achieving a smooth and elastic dough is vital for Easter Egg Bread. When kneading, aim for a consistency that is soft, not sticky. Use the heel of your hand to push the dough away from you, then fold it back over itself. Repeat this motion for about 10 minutes. You’ll know it’s ready when the dough springs back to the touch, indicating that the gluten has developed properly.
Rising Time
Don’t rush the rising process. Allowing your dough to rise for a generous time is key to achieving an airy and fluffy loaf. Place the dough in a warm, draft-free area covered with a damp cloth. Aim for at least an hour, or until it has doubled in size. Some bakers even prefer a slow rise in the fridge overnight for improved flavor.
Creative Egg Dyeing
Infuse your Easter Egg Bread with color and creativity by dyeing the eggs before placing them in the bread. Use natural dyes from food items like beet juice or turmeric for vibrant, organic shades. Alternatively, gather traditional dye kits to create patterns and designs that match your festive decor. This hands-on approach not only enhances the appearance but also introduces a fun, family-friendly activity into your baking day.
Time Details for Easter Egg Bread
Creating Easter Egg Bread is not just about baking; it’s about embracing traditions and the joy of bringing loved ones together. Here’s how the timing plays a crucial role in achieving that perfect loaf.
Preparation Time
You’ll spend about 20 minutes mixing and prepping your ingredients. This includes measuring out flour, sugar, eggs, and more. It’s a great opportunity to savor the aroma of vanilla and enhance your excitement as you prepare for this delightful bake!
Rising Time
Allow your dough to rise for about 1 to 2 hours. This step is essential for creating a light and fluffy texture. A properly risen dough traps air bubbles, which become the charming softness of your Easter Egg Bread.
Baking Time
Your bread will need around 25 to 30 minutes in the oven. Keep an eye on it to ensure it bakes until it achieves that beautiful golden brown color. The tempting smell wafting through your kitchen will let you know it’s almost time to enjoy this festive treat!
Nutritional Information for Easter Egg Bread
When you treat yourself to a slice of Easter Egg Bread, it’s not just about the delightful flavors; it’s also essential to understand its nutritional profile. This festive bread can surprisingly fit into your balanced diet, making it a favorite during the holiday season.
Calories
A single serving of Easter Egg Bread typically contains around 250-300 calories. Most of these calories come from the rich ingredients like flour, sugar, and eggs, offering a satisfying bite without going overboard.
Protein
The protein content is notable, thanks to the generous inclusion of eggs and milk. Together, they pack a powerful punch, providing approximately 8-10 grams of protein per serving, which is essential for muscle repair and growth.
Sodium
Sodium levels in Easter Egg Bread primarily stem from the salt used in the dough. A standard slice contains about 150–200 mg of sodium, contributing to flavor without overwhelming your daily intake.
FAQs about Easter Egg Bread
When celebrating the Easter tradition, Easter Egg Bread becomes the centerpiece that brings families together. This beautifully braided bread, adorned with colorful eggs, is not just a feast for the eyes but also a delightful treat for the taste buds. Below are some common questions to enhance your experience with this cherished recipe.
Can I use different colors for the eggs?
Absolutely! Decorating your Easter Egg Bread with vibrant, dyed eggs is part of the fun. Feel free to experiment with various colors; natural dyes from beets, spinach, or turmeric add a beautiful touch. This is a wonderful opportunity for creativity, so assemble your family for a fun dyeing session before baking!
How long will the bread stay fresh?
Once baked, your Easter Egg Bread will remain fresh for about 2-3 days when stored in an airtight container at room temperature. If you want to enjoy it for longer, consider freezing it. Wrap the bread tightly in plastic wrap and then in aluminum foil; it can last up to 3 months in the freezer. Just pop it in the fridge overnight to defrost when you’re ready to enjoy!
Can this recipe be made gluten-free?
Yes! Adapting the Easter Egg Bread recipe to be gluten-free is entirely possible. Using a 1:1 gluten-free all-purpose flour blend can yield delightful results. Just be sure to check the specifications on your flour blend as some may require additional ingredients like xanthan gum to achieve the right texture.
Incorporating these tips and tricks will surely elevate your Easter Egg Bread baking experience, making it not just about the dish but also the special moments shared during its creation!
Conclusion on Easter Egg Bread
Making Easter Egg Bread is more than just a culinary endeavor; it’s a delightful way to embrace the spirit of the season. Remember the joy of kneading that soft, enriched dough, filled with flavors that evoke nostalgia? Sharing this loaf with family and friends during festive gatherings amplifies the experience, creating memories with each slice.
As you celebrate, whether it’s a quiet breakfast or a lively brunch, this bread serves as a centerpiece that brings people together. So roll up your sleeves, let the dough rise, and enjoy every moment of this heartwarming tradition. Happy baking, and may your Easter Egg Bread delight everyone around your table!
Print
Sweet Bread with Dyed Eggs
- Total Time: 1 hour 5 minutes
- Yield: 12 servings 1x
- Diet: Vegetarian
Description
A delicious sweet bread perfect for celebrating special occasions, adorned with beautifully dyed eggs.
Ingredients
Scale
- 1 1/2 cups warm whole milk
- 2 packages active dry yeast
- 4 large eggs (lightly beaten)
- 2/3 cup granulated sugar
- 2 teaspoons kosher salt
- 8 3/4 cups all purpose flour (divided)
- 1 cup unsalted butter (softened)
- 3 cups boiling water
- 1/2 teaspoon food coloring (I used blue and pink)
- 1 Tablespoon distilled white vinegar
- 1 teaspoon whole milk
- 1 large egg (lightly beaten)
- 1 1/2 tablespoons sesame seeds (optional)
- 1 mixer
- 1 cookie sheet
- 1 digital thermometer
Instructions
- In the bowl of a stand mixer fitted with a paddle attachment, combine warm milk and yeast. Let the mixture stand until it’s foamy, about 10 minutes.
- With the mixer at medium speed, beat in eggs, sugar, and salt into yeast mixture until combined. With mixer on low speed add 4 cups flour, beating until combined. Add butter, 1 tablespoon at a time, beating until combined.
- Transfer dough to a large bowl, and stir in 4 cups flour with a spatula or wooden spoon until combined. (This is a large amount of dough, so you may need to transfer to a large mixing bowl to accomplish this).
- Transfer dough to a lightly floured surface, and knead until smooth and elastic, about 8 minutes. Add remaining 3/4 cup of flour as needed. (Dough should not be sticky).
- Spray a large bowl with cooking spray. Place dough in bowl, turning to grease top. Loosely cover and let rise in a warm, draft free place until doubled in size, about an hour.
- While the dough is rising, prepare your dyed eggs. If you are making a large wreath there is no need to hard boil your eggs first. If you are making the individual twists, then you will need to hard boil them first before dying.
- Place a wire rack on top of a sheet tray lined with paper towels. In a medium bowl, whisk together 3 cups boiling water and food coloring. Stir in vinegar. Gently lower eggs for wreath or 8 for individuals into water mixture until desired color is reached about 1 minute. Let dry completely on prepared rack, and refrigerate until ready to use.
- Pre-heat oven to 350°F.
- Lightly punch down the sweet bread dough. Cover and let stand for 5 minutes. On a lightly floured surface, turn out dough.
- For wreath: Line a baking sheet with parchment paper and spray with cooking spray. Divide dough into 3 equal pieces. Roll each piece into a rope about 26 inches long. Place strands vertically in front of you.
- Pinch 3 ends together at top. Braid ropes together until you’ve reached end of strands. Join two ends together forming a circle, pinching ends to seal.
- Transfer to a prepared pan. Gently tuck 5 dyed eggs between strands of dough. Cover and let stand in a warm draft free place until puffed, about 30 minutes.
- In a small bowl, whisk together milk and remaining 1 egg. Brush dough with egg wash, avoiding eggs.
- Bake until golden brown and an instant read thermometer inserted in the center registers 190°F, 30 to 35 minutes, loosely covering with foil to prevent excess browning if necessary.
- For individual twists: Line 2 baking sheets with parchment paper, and spray with cooking spray. Divide dough into 8 equal pieces. Divide each piece in half. Roll each piece into a rope about 12 inches long.
- Place 2 strands vertically in front of you. Pinch ends together at top. Twist 2 pieces together, until you’ve reached the ends of the strands. Join two ends together forming a circle, pinching ends to seal.
- Transfer to prepared pans. Repeat with remaining dough. Place 1 dyed egg in center of each circle. Cover and let stand in a warm draft free place until puffed about 30 minutes.
- In a small bowl, whisk together milk and remaining 1 egg. Brush dough with egg wash, avoiding eggs. Sprinkle with sesame seeds.
- Bake until golden brown and an instant-read thermometer inserted in center registered 190°F, 20 to 25 minutes.
Notes
- This recipe yields a beautiful centerpiece for holiday celebrations.
- Be creative with egg dye colors to customize for different occasions.
- Ensure to use a digital thermometer for accurate cooking results.
- Prep Time: 30 minutes
- Cook Time: 35 minutes
- Category: Breads
- Method: Baking
- Cuisine: American
Nutrition
- Serving Size: 1 piece
- Calories: 250
- Sugar: 5g
- Sodium: 200mg
- Fat: 10g
- Saturated Fat: 6g
- Unsaturated Fat: 3g
- Trans Fat: 0g
- Carbohydrates: 35g
- Fiber: 1g
- Protein: 6g
- Cholesterol: 100mg