Follow Me On Social Media!
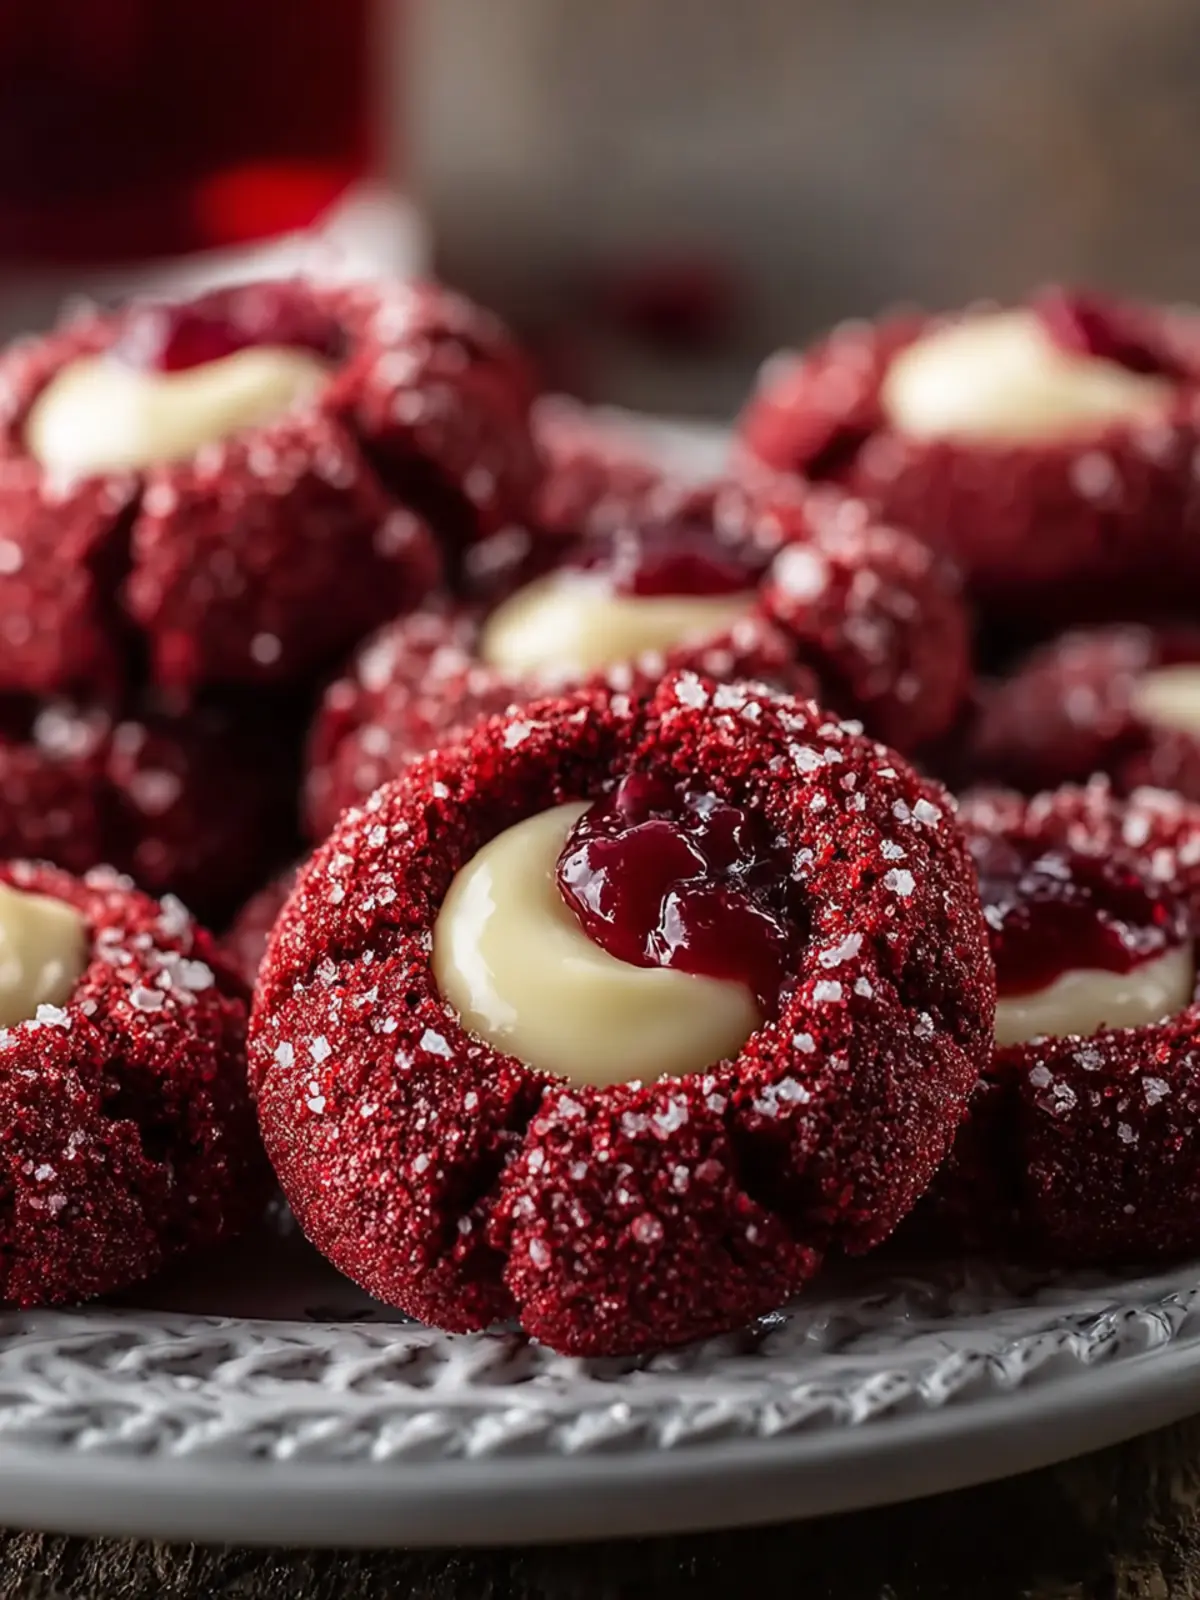
Red Velvet Thumbprint Cookies: Irresistibly Creamy Delights
Introduction to Red Velvet Thumbprint Cookies with Creamy Filling
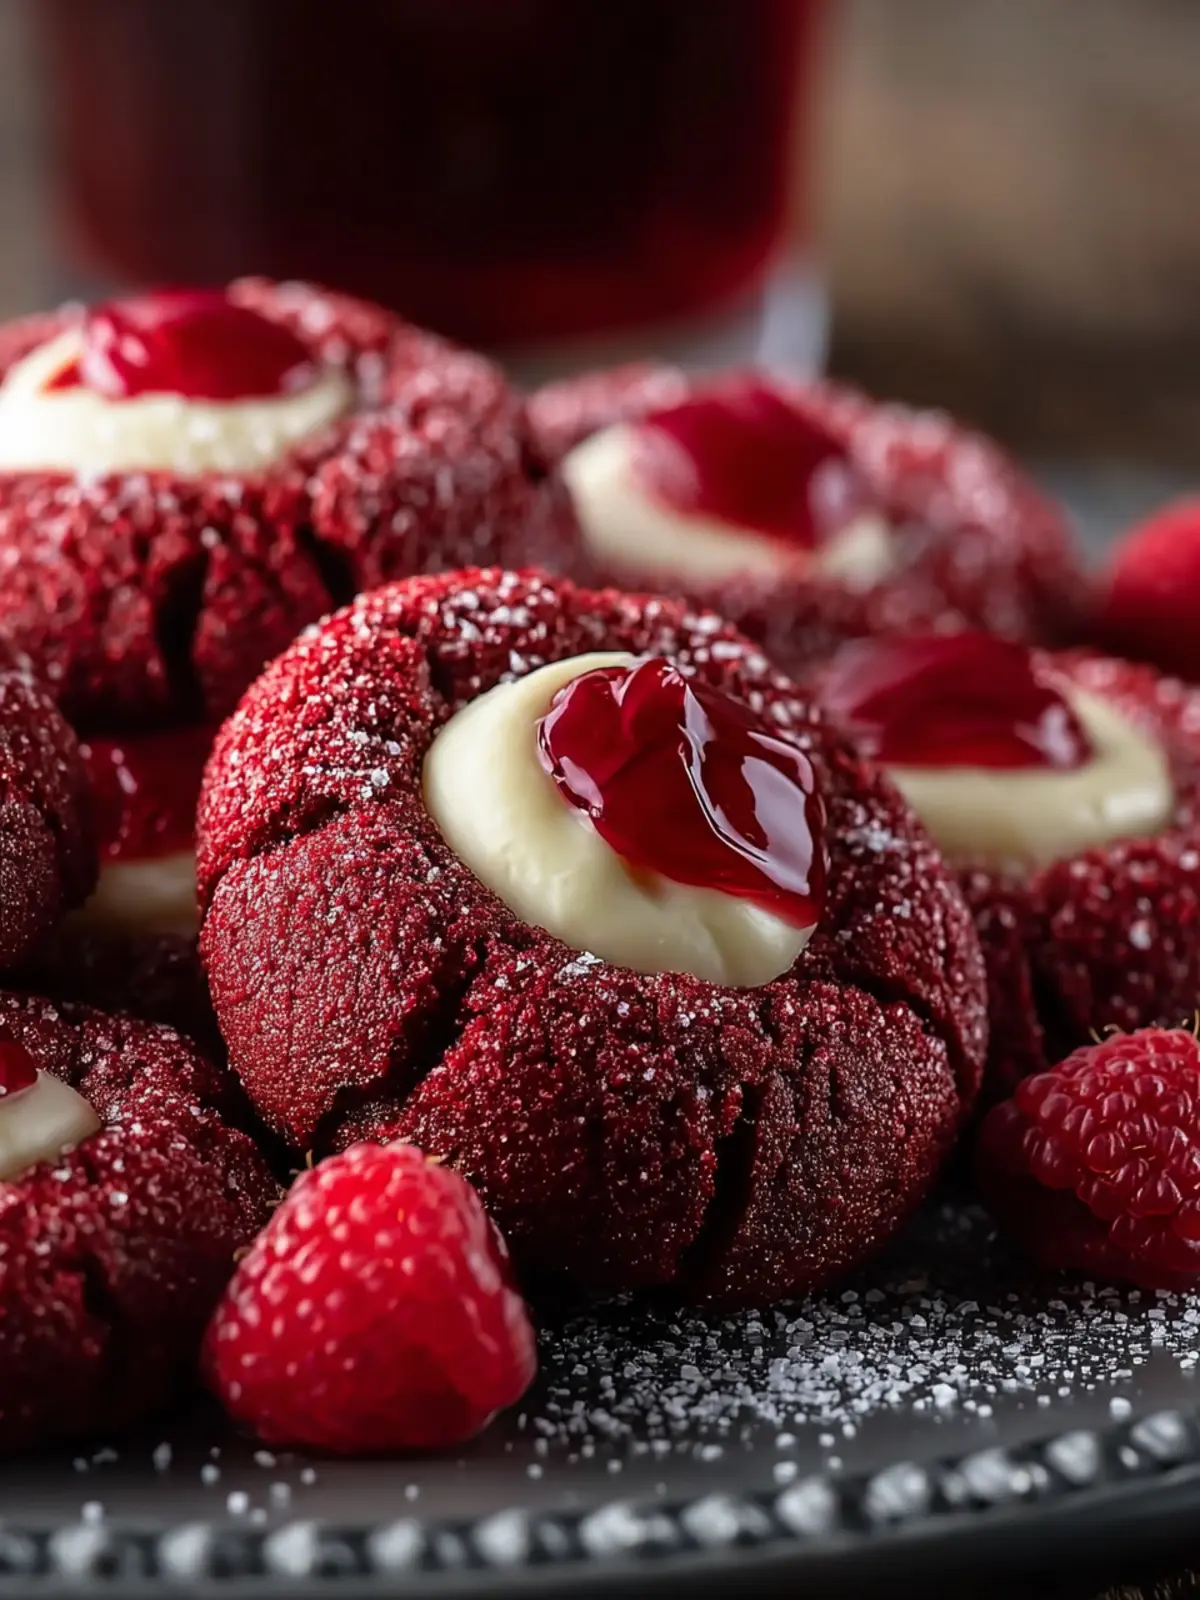
If you’ve ever wanted to elevate your cookie game, red velvet thumbprint cookies with creamy filling would be an excellent choice to impress guests and satisfy your sweet tooth. Imagine biting into a soft, vibrant cookie, the rich cocoa flavor mingling gracefully with a velvety cream filling. These cookies are not just a treat; they embody a charming whimsy that turns any gathering into a celebration.
There’s a unique story behind the allure of these cookies that resonates with many of us. Perhaps it’s the elegant visual appeal of the deep red hue, reminiscent of love and warmth, or maybe it’s the nostalgia tied to childhood bake sales, where delights like these would often be the stars of the show. When you bake a batch of these red velvet thumbprint cookies, you evoke joy not only through taste but also through shared experiences. With a simple yet delightful design, they invite everyone to take a bite and share in the fun.
What makes these cookies so irresistible?
The magic of red velvet thumbprint cookies lies in their delightful combination of textures and flavors:
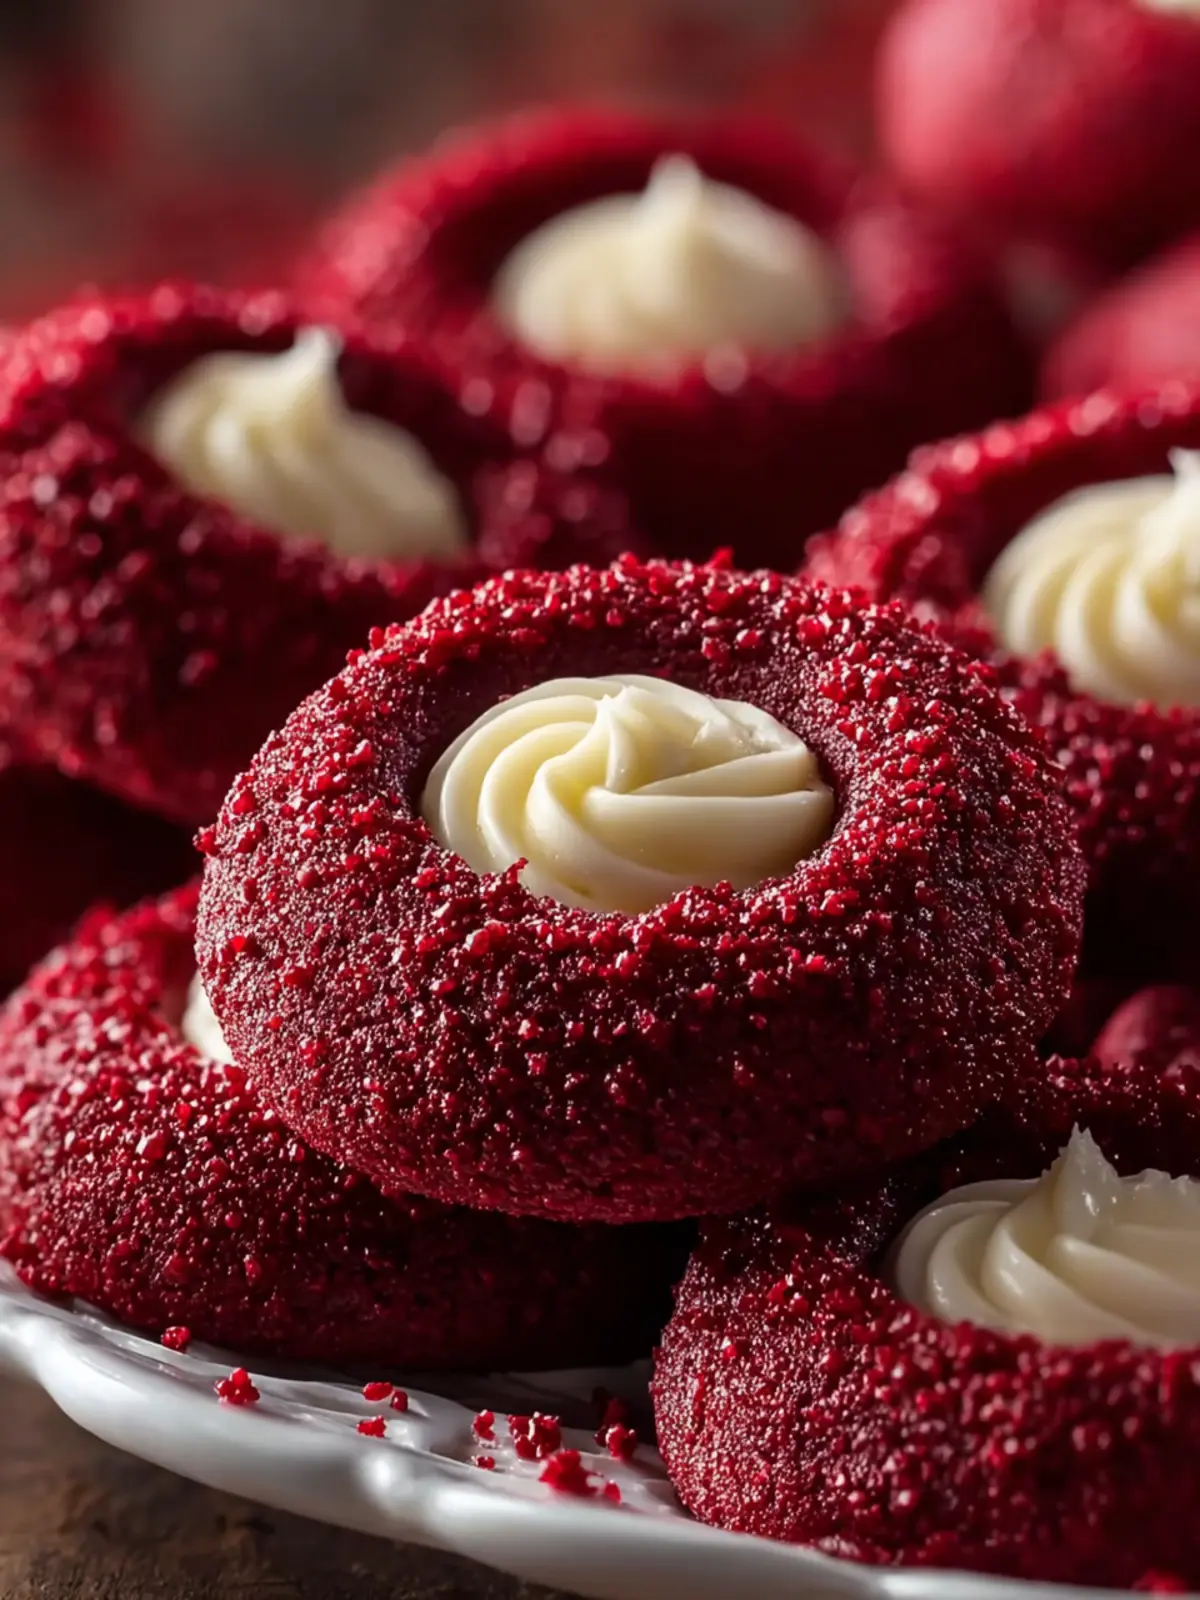
- Visual Appeal: The striking red color is hard to resist. It adds a festive touch that’s perfect for any occasion.
- Soft and Chewy Texture: The cookies are baked to perfection, providing a soft and chewy interior that pairs beautifully with the creamy filling.
- Lush Filling: The creamy filling bursting in the center delivers a contrasting texture and rich, sweet flavor that elevates each bite.
- Versatile for Any Occasion: Whether it’s a holiday, a birthday, or just a casual gathering, these cookies fit right in. Everyone appreciates a cookie that looks as good as it tastes!
Whipping up a batch of red velvet thumbprint cookies with creamy filling is as simple as gathering a few ingredients and letting your creativity shine. The fun doesn’t just end in the baking; it continues in the presentation, making these cookies not only delicious but also a feast for the eyes. So, gather your ingredients and get ready to create something scrumptiously memorable!
Key Ingredients for Red Velvet Thumbprint Cookies
Creating red velvet thumbprint cookies is a delightful experience, as their rich color and flavor are sure to impress anyone who takes a bite. Each ingredient plays a pivotal role in crafting these little gems.
- Butter: The heart of these cookies, softened butter provides richness and helps achieve a soft texture. You’ll want to cream it well with sugar to integrate air for those perfect cookies!
- Granulated Sugar: This simple ingredient pairs with butter to create a sweet base, essential for achieving that burst of flavor in every cookie.
- Brown Sugar: Adding a bit of brown sugar introduces moisture and a hint of caramel that complements the chocolate notes in red velvet perfectly.
- Cocoa Powder: Unsweetened cocoa powder brings a depth of flavor, creating that distinctive red velvet taste without overpowering the sweetness.
- Egg: One egg is key for binding the ingredients, contributing to a chewy texture that contrasts beautifully with the creamy filling.
- Flour: All-purpose flour forms the structure of these cookies, balancing softness with a bit of stability.
- Baking Soda and Baking Powder: These leavening agents work together to provide the ideal rise, ensuring the cookies remain fluffy and light.
- Vanilla Extract: Don’t underestimate the power of vanilla; it enhances the cookie’s sweetness and complexity.
- Red Food Coloring: This ingredient is perhaps the most iconic in red velvet recipes, giving these cookies their signature hue and visual appeal.
By carefully selecting and combining these ingredients, you’re one step closer to creating delicious red velvet thumbprint cookies that are sure to be a hit at any gathering!
Why You’ll Love These Red Velvet Thumbprint Cookies
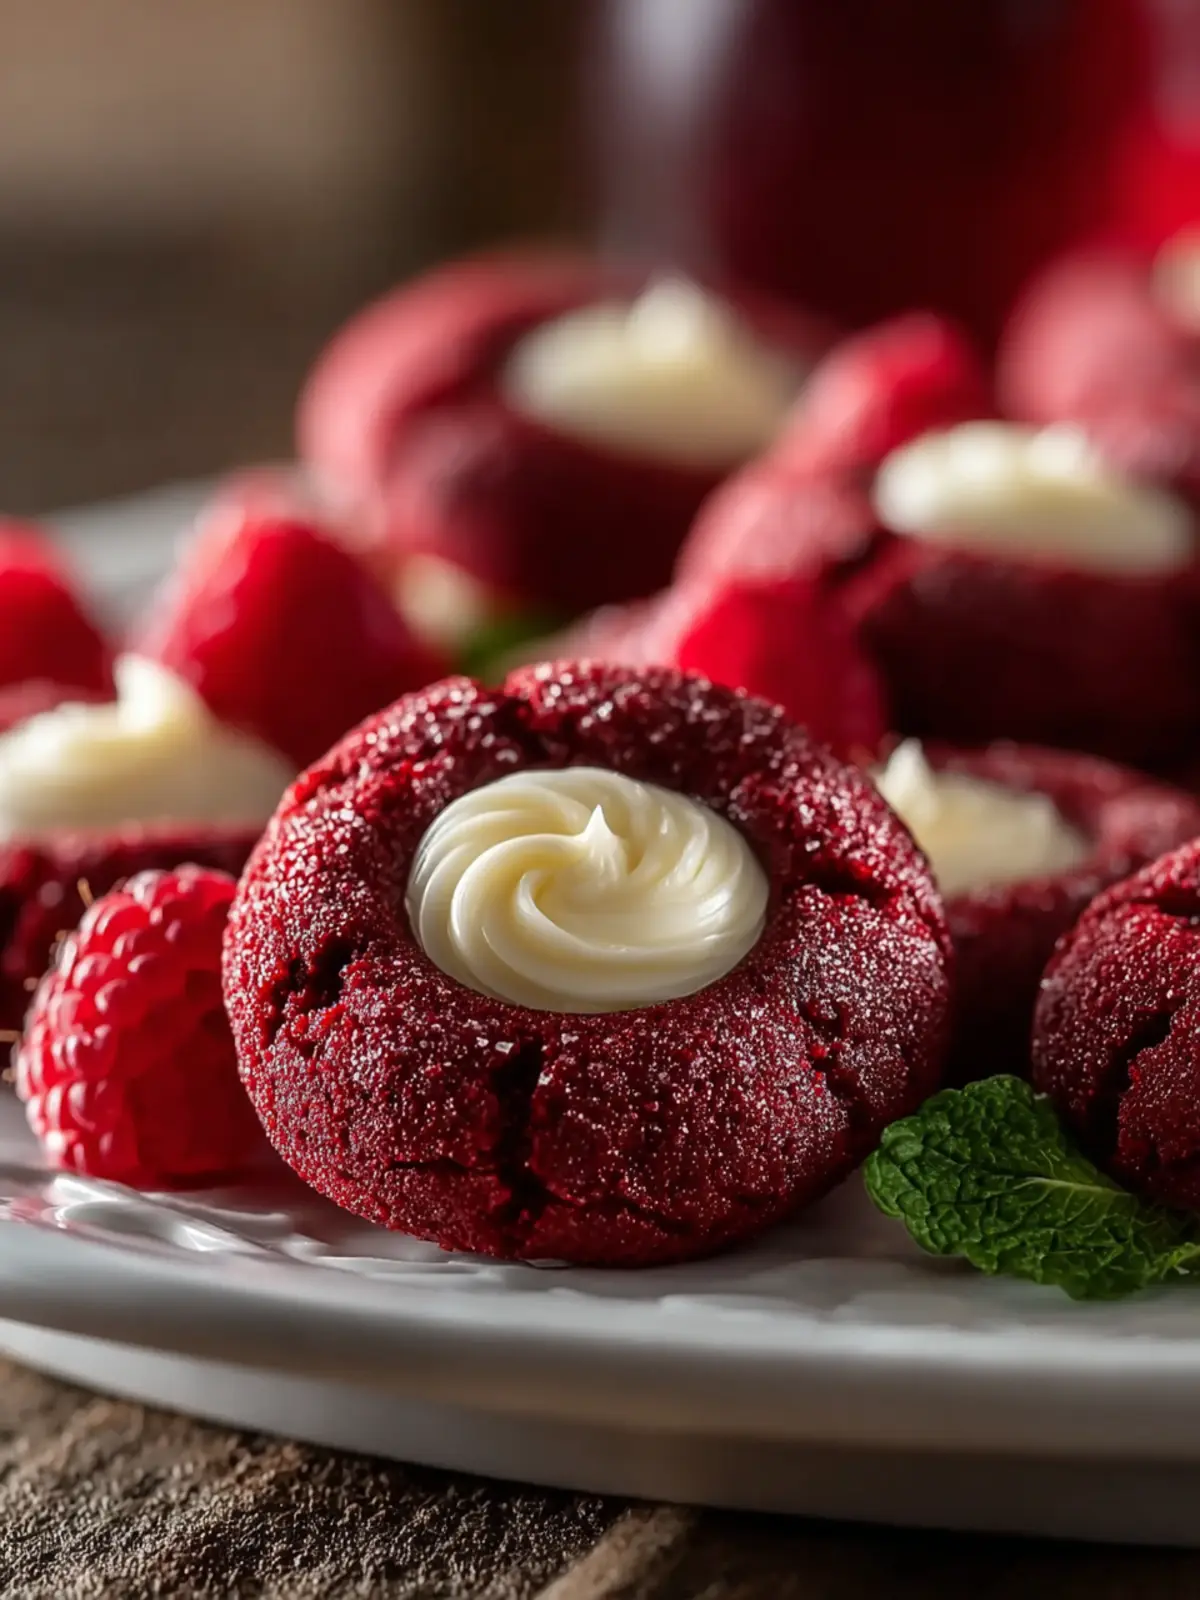
When it comes to cookies that bring a little flair to your dessert table, red velvet thumbprint cookies are in a league of their own. Imagine biting into a soft, chewy cookie that reveals a deliciously creamy filling in the center—doesn’t that sound delightful?
These cookies are not just about looks; they impress with their flavor too. The rich cocoa notes of the red velvet dough perfectly complement the sweet cream cheese filling, making each bite a heavenly experience. Plus, they’re incredibly fun to make! Rolling the dough and creating the perfect thumbprint is both satisfying and a wonderful way to get friends or family involved in the baking process.
Think about how great these cookies would be at your next gathering or as a delightful surprise for a loved one. The vibrant color and unique taste will surely make them a conversation starter. With every batch, you can share a little piece of joy, all while enjoying your baking adventure. It’s these moments that make red velvet thumbprint cookies a truly special treat worth celebrating!
Tips for Perfecting Red Velvet Thumbprint Cookies
Creating delightful red velvet thumbprint cookies is both an art and a science. With just a few tweaks, you can elevate them from good to unforgettable. Here’s how to perfect this festive treat:
Pay Attention to the Dough Consistency
The dough for your red velvet thumbprint cookies should be smooth and slightly sticky. If it’s too dry, add a teaspoon of milk at a time until it reaches the right texture. This ensures a moist cookie that holds its shape beautifully.
Chilling is Key
After mixing your dough, allow it to chill in the refrigerator for at least 30 minutes. Chilling helps the flavors meld and prevents the cookies from spreading too much in the oven. This extra step is fundamental for achieving that perfect thumbprint shape.
Perfect the Thumbprint
When forming the thumbprints, aim for a deep enough indentation without piercing through the bottom of the cookie. I recommend using your thumb (or a small measuring spoon) to make the indent; it’s an effective tool for getting that perfect shape!
Bake at the Right Temperature
Always preheat your oven. Baking at 350°F gives you a nice, even bake, ensuring your cookies rise properly and stay tender. Keep an eye on them; they’re done when the edges begin to firm up while the centers remain soft.
Experiment with Fillings
While the classic choice is a creamy filling, don’t hesitate to get creative! Try using flavored jams or chocolate ganache to give your red velvet thumbprint cookies a unique twist that personalizes each batch.
By following these tips, you’re on your way to creating mouthwatering red velvet thumbprint cookies that will wow your friends and family!
Time Details for Red Velvet Thumbprint Cookies
Creating red velvet thumbprint cookies is not only fun but also quite quick! Here’s a breakdown of the time you need to whip up this delightful treat.
Preparation Time
Getting everything ready will take about 20 minutes. Gather your ingredients, mix your dough, and make those adorable thumbprint indentations in no time.
Baking Time
Once your cookies are prepped, bake them for approximately 12-15 minutes. Keep a close eye on them to ensure they don’t overbake!
Total Time
In total, you’re looking at around 35-40 minutes from start to finish, leading you to a delicious batch of red velvet thumbprint cookies perfect for any occasion. Enjoy the sweet rewards of your time spent baking!
Nutritional Information for Red Velvet Thumbprint Cookies
When indulging in red velvet thumbprint cookies, it’s essential to consider their nutritional profile—especially if you are balancing a busy lifestyle. Here’s a quick breakdown to help you savor these delightful treats while keeping an eye on your nutrition:
Calories
Each red velvet thumbprint cookie contains approximately 150 calories. That makes it a perfect bite-sized treat for an afternoon pick-me-up without derailing your daily caloric intake.
Protein
You can expect nearly 2 grams of protein per cookie. While not a significant source, every bit counts, especially when you’re pairing these cookies with a warm cup of coffee or tea.
Sodium
With around 100 milligrams of sodium, these cookies are relatively low in salt. This means you can enjoy your sweet treat without worrying too much about exceeding daily sodium limits.
Next time you treat yourself to red velvet thumbprint cookies, you can feel good about what you’re enjoying!
FAQs about Red Velvet Thumbprint Cookies
The joy of baking red velvet thumbprint cookies comes not just from the delicious flavors, but also from the occasional questions that pop up along the way. Here are some common inquiries that can help you perfect this delightful treat!
How can I achieve the perfect red color without altering the taste?
To get that vibrant red hue in your red velvet thumbprint cookies, opt for high-quality red food coloring. It’s essential to use gel rather than liquid food coloring, as gel provides a bolder color without affecting the cookie’s texture or taste. Start with a small amount and gradually add more until you reach the desired shade. This way, you won’t sacrifice flavor for color!
What’s the best way to store these cookies?
For optimal freshness, store your red velvet thumbprint cookies in an airtight container at room temperature. If you want them to last longer, consider placing parchment paper between layers to prevent sticking. They can be kept this way for up to a week. If you’ve got a stash of cookies you want to keep longer, refrigerator storage is also a good option, though it may slightly alter the texture.
Can I freeze the dough or the baked cookies?
Absolutely! You can freeze both the cookie dough and the baked cookies. For the dough, roll it into balls, place on a baking sheet, and freeze until firm before transferring to a freezer bag. Baked cookies can be stored in a similar manner. Make sure to thaw them at room temperature before enjoying. This means that delectable red velvet thumbprint cookies are always a quick treat away!
Conclusion on Red Velvet Thumbprint Cookies
Wrapping up our delightful journey into the world of red velvet thumbprint cookies, you can see just how easy it is to elevate a classic treat. These cookies not only offer a stunning pop of color but also a moist, rich texture paired with a creamy filling that makes each bite an experience. Perfect for any celebration or simply to indulge yourself, they’re sure to impress friends and family alike. Don’t hesitate to experiment with different fillings; your creativity can turn these thumbprints into unforgettable works of art. Happy baking, and enjoy every sweet moment!
Print
Red Velvet Cookies with Cream Cheese Filling
- Total Time: 1 hour 10 minutes
- Yield: 24 cookies 1x
Description
Delicious red velvet cookies filled with a creamy cream cheese frosting.
Ingredients
Scale
- 2 cups All-Purpose Flour
- 2 tablespoons Unsweetened Cocoa Powder
- 1 teaspoon Baking Soda
- 1/2 teaspoon Salt
- 1/2 cup Unsalted Butter, Softened
- 1 cup Granulated Sugar
- 2 large Eggs
- 1 teaspoon Vanilla Extract
- 1 tablespoon Red Food Coloring
- 1/2 cup Buttermilk
- 1/4 cup Granulated Sugar (for rolling)
- 8 ounces Cream Cheese, Softened
- 1/4 cup Unsalted Butter, Softened
- 2 cups Powdered Sugar, Sifted
- 1 teaspoon Vanilla Extract
Instructions
- Whisk together the all-purpose flour, unsweetened cocoa powder, baking soda, and salt until well combined.
- Cream the softened unsalted butter and granulated sugar until fluffy, about 2-3 minutes.
- Incorporate the eggs one at a time, mixing thoroughly after each addition. Stir in the vanilla extract and red food coloring.
- Alternately mix in the dry ingredients and buttermilk, starting and finishing with the dry ingredients.
- Cover the dough and refrigerate for at least 30 minutes, or up to 2 hours.
- Preheat your oven to 375°F (190°C) and line baking sheets with parchment paper.
- Scoop out the dough, roll each portion in granulated sugar, and make an indent in the center.
- Place the cookies in the oven and bake for 8-10 minutes.
- Allow the cookies to cool on wire racks before dolloping the cream cheese filling into the centers.
- Beat together the softened cream cheese and unsalted butter until creamy. Add the sifted powdered sugar and vanilla extract, mixing until smooth.
Notes
- Use weight measurement for accuracy when measuring flour.
- Opt for high-quality cocoa powder for better flavor.
- Using gel coloring keeps the texture perfect.
- Can substitute buttermilk with milk and vinegar.
- Sifting powdered sugar ensures a smooth texture.
- Prep Time: 30 minutes
- Cook Time: 10 minutes
- Category: Dessert
- Method: Baking
- Cuisine: American
Nutrition
- Serving Size: 1 cookie
- Calories: 150
- Sugar: 12g
- Sodium: 180mg
- Fat: 7g
- Saturated Fat: 4g
- Unsaturated Fat: 2g
- Trans Fat: 0g
- Carbohydrates: 16g
- Fiber: 0g
- Protein: 2g
- Cholesterol: 30mg